Gardeners' notes - what to do in September

Sow hardy annuals directly for spring colour
Early autumn presents an ideal opportunity for gardeners to sow a wide range of hardy annuals directly into the garden soil. This approach is particularly beneficial for plants like nigella or field poppies which prefer direct sowing and often struggle to establish when transplanted. The soil, still warm from summer, promotes rapid germination, giving these plants a crucial head start.
The hardiness of these annuals is key and this early establishment encourages the development of stronger, more extensive root systems. As a result, the plants that emerge in spring are more robust, capable of producing earlier and a more prolonged flowering period. Check on the seed packet to see that your seeds are hardy rather than half hardy or tender.
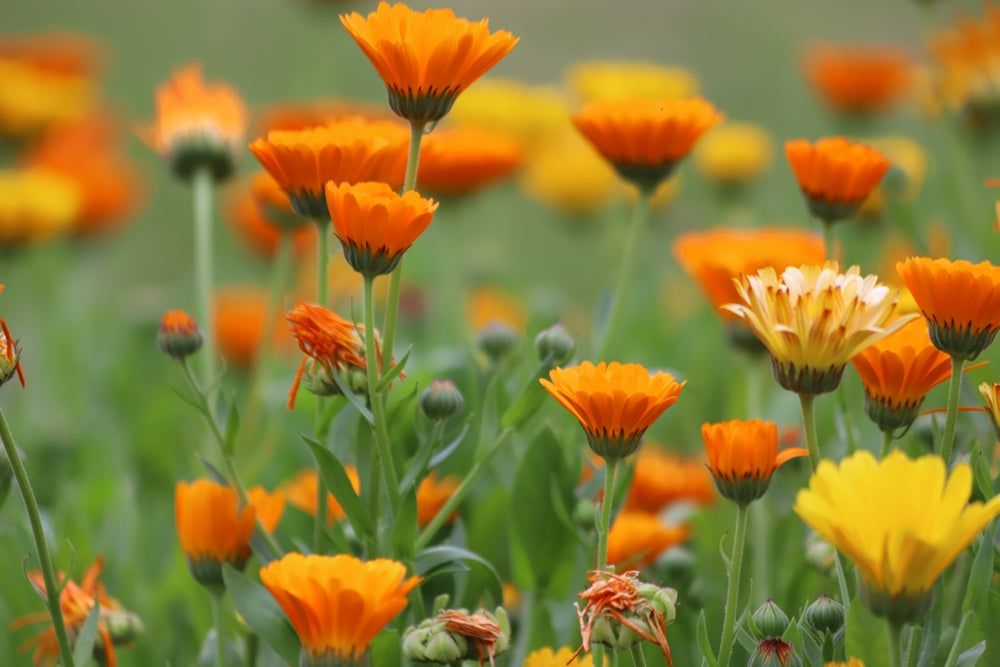
All that’s required is an open area of soil that is weed free. Simply scatter the seeds over the soil, rake-in, and water using a rose on your can. In the Genus garden we often like to gamble and broadcast the seeds freely throughout the borders letting them decide where they’d like to appear. Some survive and put on a wonderful display while others don’t, finding themselves crowded out by more vigorous neighbours. Ammi, calendula, cerinthe, and orlaya are all ideal candidates if you haven’t grown annuals in this way before.
Take pelargonium cuttings
Tender geraniums, or pelargoniums as they are properly known, can give a wonderful display in the garden from May to late September and now is the ideal time to expand your stock by taking cuttings and growing new plants for next year. Find a healthy plant that has made a lot of new growth and, using secateurs or a sharp knife, cut off a piece of non-flowering stem immediately below a leaf node - the point where leaves meet the stem. Pull off any of the lower leaves and pinch out the tip. Some people like to dip the cut end into rooting hormone powder. We don’t bother but you may prefer to.
Fill a one litre plant pot with your favourite potting compost. A handful of grit can be added to help drainage. Five or six cuttings can be pushed into the compost up to their necks around the edge of the pot. It sometimes helps to make a pilot hole with the end of a pencil. Using a rose fitted to your watering can, water the pot and move to a nice well lit spot in your greenhouse. Don’t cover the cuttings with a cloche or plastic bag, the fleshy stems are prone to rotting if air doesn’t circulate freely around them.
Don’t pull out the cuttings every day to check for roots no matter how tempting it may be. The first sign of success will be new growth on the cutting, or roots spotted growing out of the bottom of the pot. At this stage they can be transferred into individual pots. We like to use 9cm pots for each plant. Separate the individual plants from the compost being careful not to damage the roots and pot them up with your favourite well draining potting mix into the individual pots. Water with a rose attachment and put in a bright frost-free spot in the greenhouse. They’ll be ready to use next May.
Delay tulip planting
IMPORTANT - Don’t plant tulips yet.
Many articles will have you potting up your bulbs now for a colourful spring display but our advice is to hold off with this particular operation. Tulips can suffer from a serious fungal infection called tulip fire which thrives in the milder weather of early autumn. Caused by the mould Botrytis tulipae it causes twisted distorted leaves, holes, and brown spots on the leaves and flowers. Once affected, the spores can remain in the soil for up to three years. Planting more tulip bulbs is not recommended during this time. If you grow your tulips in pots, dispose of the old compost, wash the pots thoroughly with warm water and detergent, and use fresh compost each time.
Storing apples and pears
Apples and pears can often have quite prolific years. When you’ve squeezed and bottled, chutneyed, and frozen, the final option is to put the excess fruit into store.
To store apples effectively, they need to be kept cool in a frost free environment like a cellar or unheated garage. Handle the apples gently during harvest, trying to leave the stalk attached. Only store unblemished fruit, checking for bruising, insect damage, or mould. Don’t try to store windfallen fruit, they rapidly spoil.
Wrap each apple individually in newspaper or a plastic sandwich bag and arrange in single layers on old seed or bread trays. If you have a number of trees and a large number of fruits you may consider investing in a proper slatted fruit tray system. Try and inspect your cache every week and remove any that show signs of rot. It’s true one spoiled apple can affect the entire batch, though wrapping them individually and regular checks will mitigate against this to some extent. Mice can also discover your hoard, another reason for checking on a regular basis.
For those with limited space, prioritise storing only the best quality apples and consume or process those with minor imperfections promptly. With experience you will also find that some varieties store better than others. Early maturing types tend to keep less well than the late autumn varieties such as Blenheim Orange or Ashmeads Kernel.


